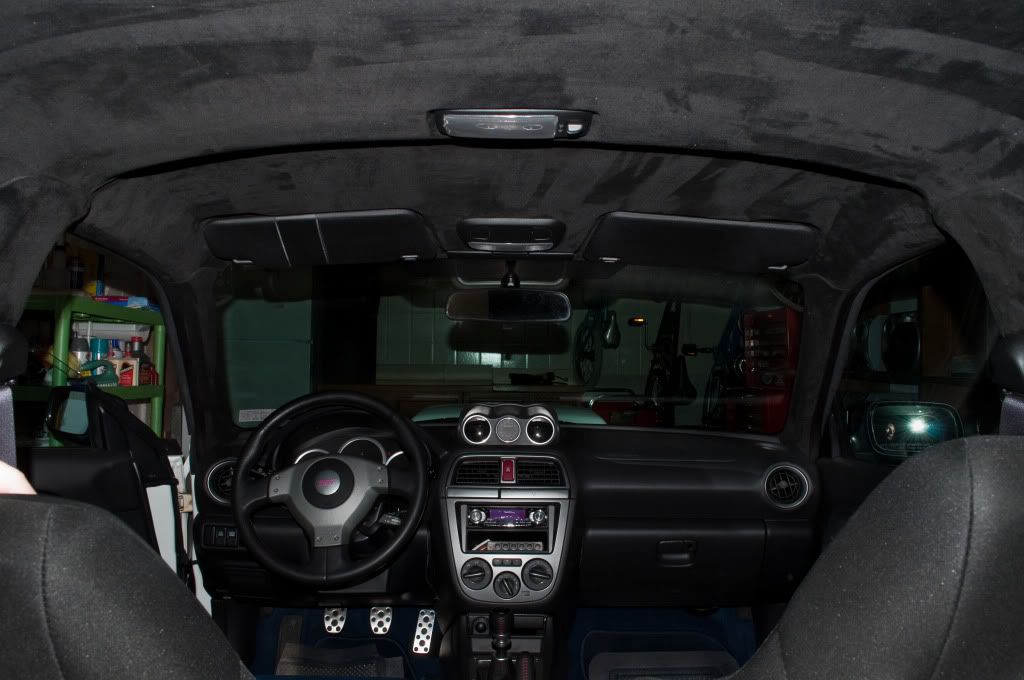

This How-To will cover how to wrap the A, B and C pillars in microfiber suede. These techniques can also be used to cover just about any trim piece (ex. headliner, pillars, deck lid, door cards, arm rest, etc.) in suede, vinyl, leather or any other automotive fabric.
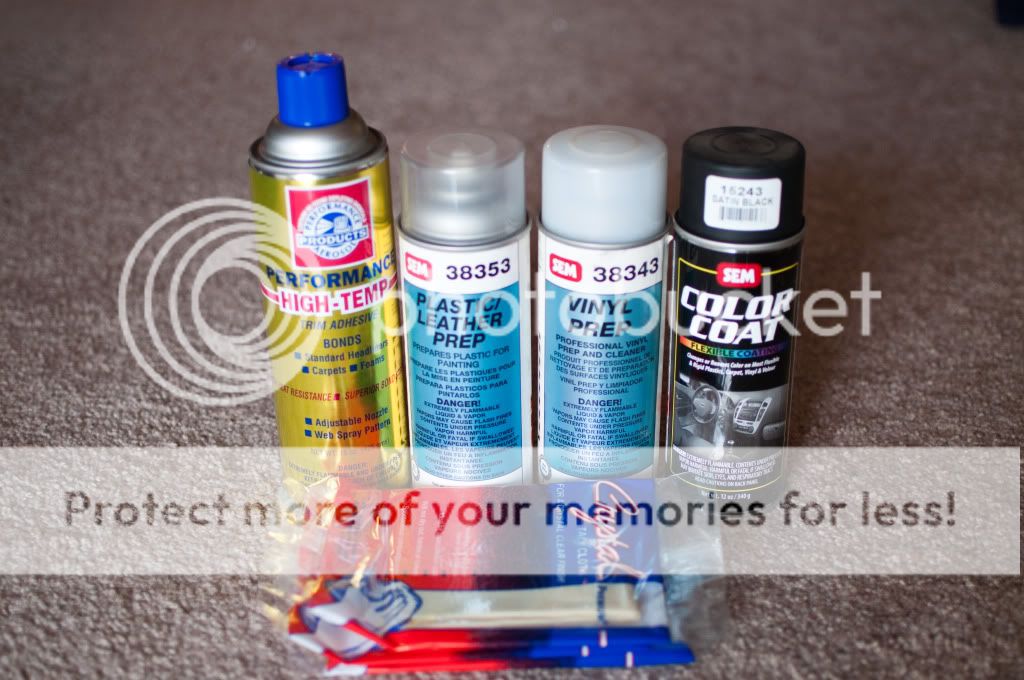
Supplies needed:
- Automotive grade suede – This is important so it doesn’t fade. 5 yards will cover headliner, A, B, C Pillars, rear deck lid, arm rest and door cards but you will have any material left over. I would suggest an extra yard just in case any mistakes are made.
- Automotive grade spray glue – 3M Super Trim Adhesive works well. I used Performance Aerosol Products Hi-Temp Trim Adhesive that I got from my local automotive fabric distributor. 1-3 cans depending on how many trim panels you will be covering.
- Plastic Prep – This is optional but will help the glue stick. 1 can will be enough. I used SEM Plastic/Leather Prep 38353
- Black Spray Paint - Needed if painting the gray pieces black. I used SEM Color Coat In Satin Black 15243. Two cans will cover everything you see in the pics below and will have some left over.
- Razor blades
- Your favorite beer
![Image]()
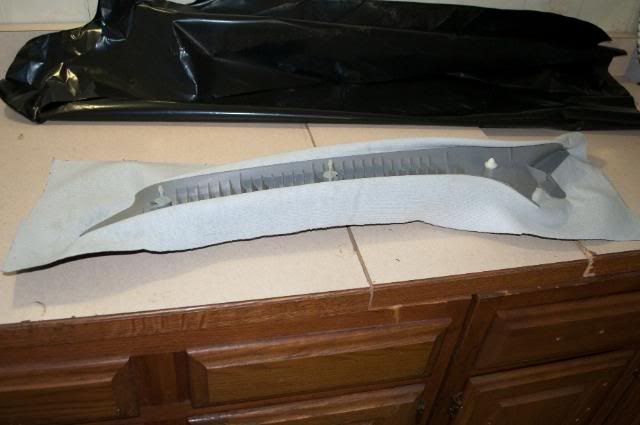
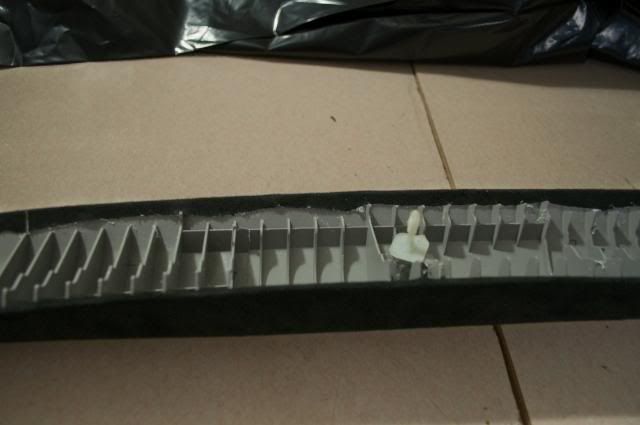
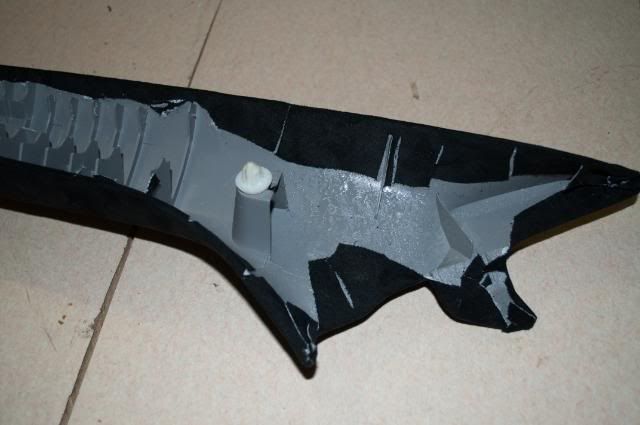
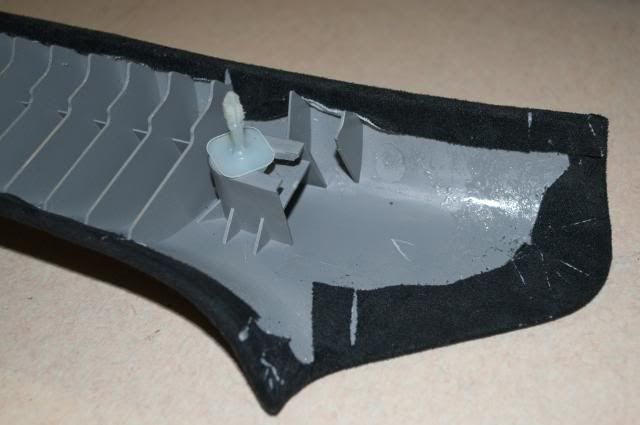
1. Remove all pieces that will be covered. Refer to DIY: Suede Headliner and Blacked out interior , suede doorcards ,flat black interior for guidance on how to remove various trim pieces and painting of trim that will not be covered in suede.
2. Clean all trim panels with Plastic Prep.
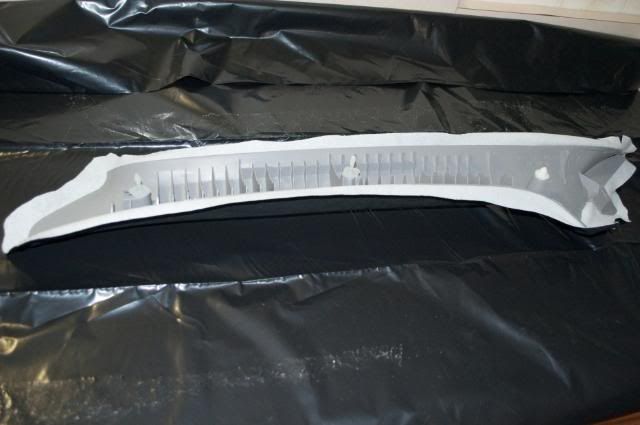
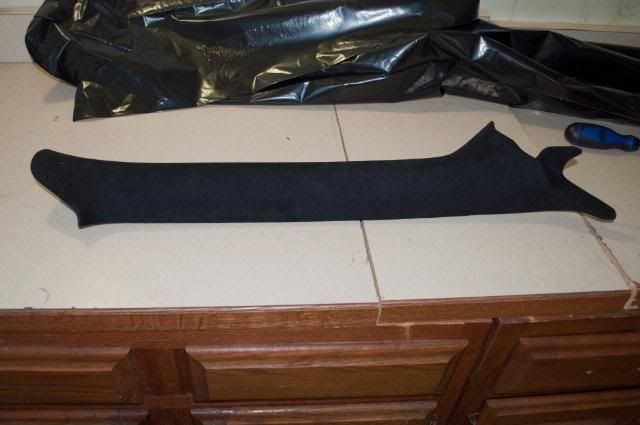
3. Cut out suede leaving around 4”-6” beyond the trim panel.
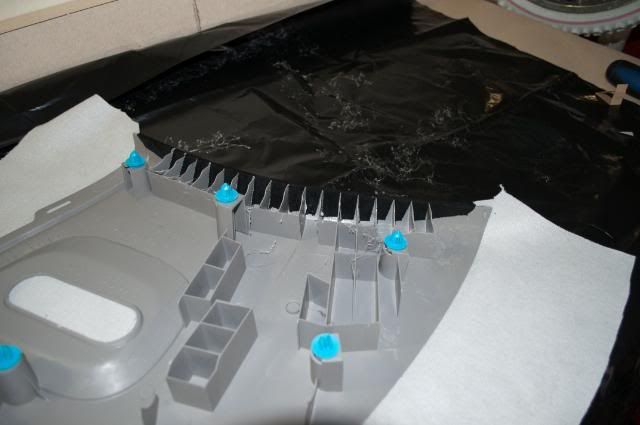
4. Place trim panel on top of fabric and spray trim panel with glue. DO NOT use too much. You want a light even coating.
5. Place trim panel aside and spray the fabric with glue. Once again do a light coat. If too much is sprayed it will soak through and ruin the fabric.
6. Allow the glue to dry (1–2 minutes) and become tacky to touch.
7. Place trim panel on the fabric and work fabric from the center out pressing firm to bond the fabric to the panel. Be careful not wrinkle or leave air pockets in the fabric. If a wrinkle occurs, pull fabric back up and smooth out.
![Image]()
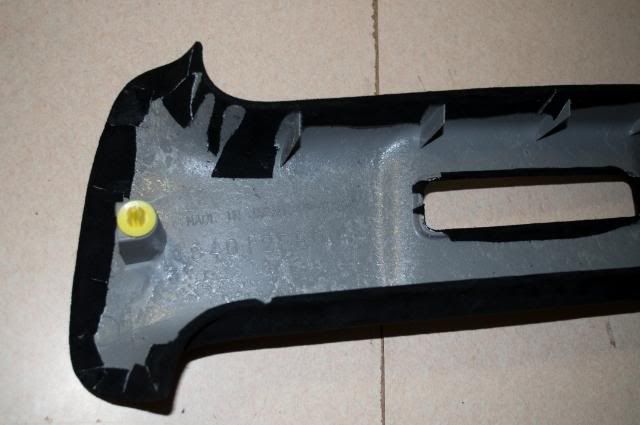
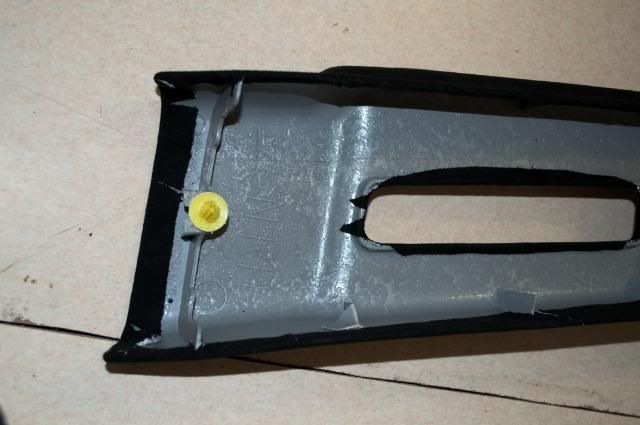
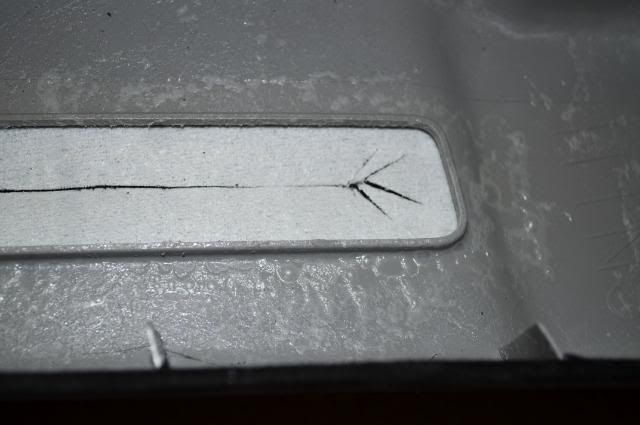
8. Spray glue to the section you will do next, being care full not to get any glue on the finished side. The extra fabric will help with overspray. After spraying double check to make sure you didn’t get any glue on the fished side, if so, wipe of any overspray quickly. Trim fabric about 1”-2” extra beyond the panel and make relief cuts when on corners and curved sections. Working sections at a time, will allow you not to be rushed by the glue drying, which is usually 8-10 minutes. Trim any extra fabric that’s not necessary.
![Image]()
The A pillars are the easiest. I would suggest starting with these to get a feel.
![Image]()
![Image]()
![Image]()
![Image]()
![Image]()
![Image]()
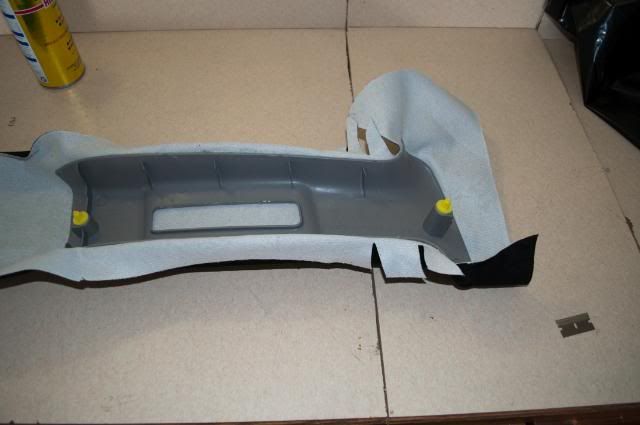
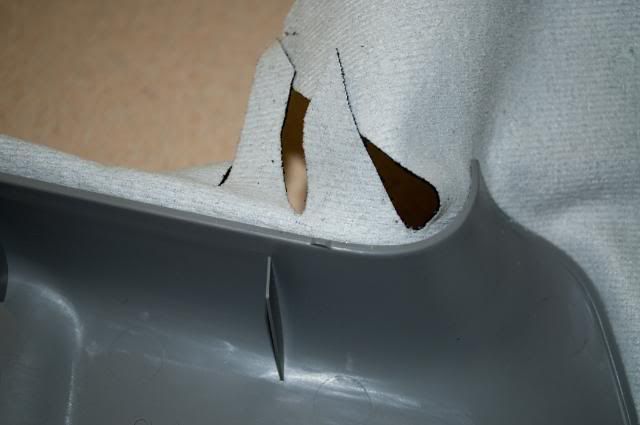
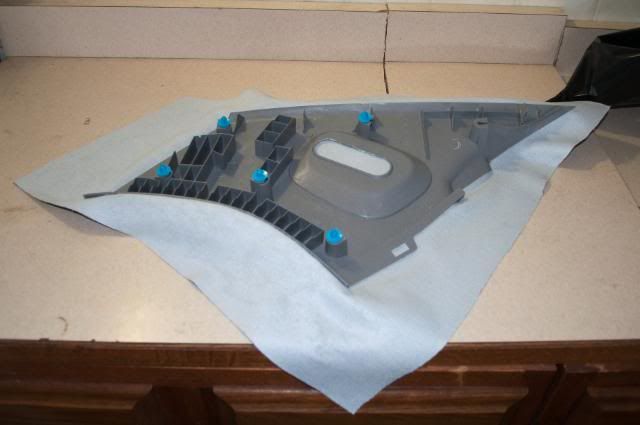
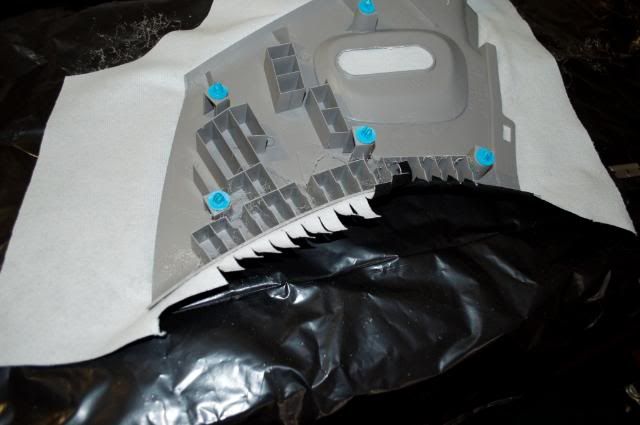
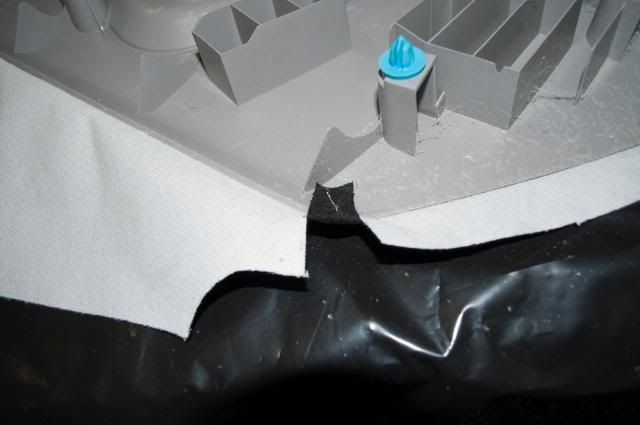
The B pillar is the hardest. The top corners are the problem. Work the fabric into the curve and hold it firm with your thumb until it dries. If it’s not sticking, apply more glue and retry.
![Image]()
![Image]()
![Image]()
![Image]()
![Image]()
![Image]()
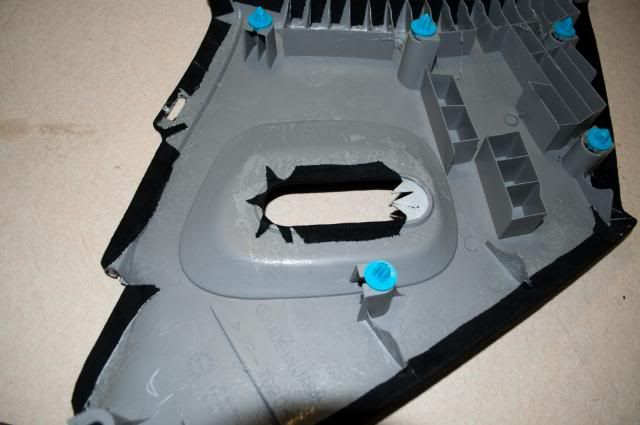
The C pillars around the seat belt are tricky too. Apply the same technique used on the B pillars. Also make sure to cut out the section where the lower trim attaches to the C pillar.
![Image]()
![Image]()
![Image]()
![Image]()
![Image]()
![Image]()
My biggest tip would be to take your time and have lots of patience. No get off your lazy and get started.
Supplies needed:
- Automotive grade suede – This is important so it doesn’t fade. 5 yards will cover headliner, A, B, C Pillars, rear deck lid, arm rest and door cards but you will have any material left over. I would suggest an extra yard just in case any mistakes are made.
- Automotive grade spray glue – 3M Super Trim Adhesive works well. I used Performance Aerosol Products Hi-Temp Trim Adhesive that I got from my local automotive fabric distributor. 1-3 cans depending on how many trim panels you will be covering.
- Plastic Prep – This is optional but will help the glue stick. 1 can will be enough. I used SEM Plastic/Leather Prep 38353
- Black Spray Paint - Needed if painting the gray pieces black. I used SEM Color Coat In Satin Black 15243. Two cans will cover everything you see in the pics below and will have some left over.
- Razor blades
- Your favorite beer
1. Remove all pieces that will be covered. Refer to DIY: Suede Headliner and Blacked out interior , suede doorcards ,flat black interior for guidance on how to remove various trim pieces and painting of trim that will not be covered in suede.
2. Clean all trim panels with Plastic Prep.
3. Cut out suede leaving around 4”-6” beyond the trim panel.
4. Place trim panel on top of fabric and spray trim panel with glue. DO NOT use too much. You want a light even coating.
5. Place trim panel aside and spray the fabric with glue. Once again do a light coat. If too much is sprayed it will soak through and ruin the fabric.
6. Allow the glue to dry (1–2 minutes) and become tacky to touch.
7. Place trim panel on the fabric and work fabric from the center out pressing firm to bond the fabric to the panel. Be careful not wrinkle or leave air pockets in the fabric. If a wrinkle occurs, pull fabric back up and smooth out.
8. Spray glue to the section you will do next, being care full not to get any glue on the finished side. The extra fabric will help with overspray. After spraying double check to make sure you didn’t get any glue on the fished side, if so, wipe of any overspray quickly. Trim fabric about 1”-2” extra beyond the panel and make relief cuts when on corners and curved sections. Working sections at a time, will allow you not to be rushed by the glue drying, which is usually 8-10 minutes. Trim any extra fabric that’s not necessary.
The A pillars are the easiest. I would suggest starting with these to get a feel.
The B pillar is the hardest. The top corners are the problem. Work the fabric into the curve and hold it firm with your thumb until it dries. If it’s not sticking, apply more glue and retry.
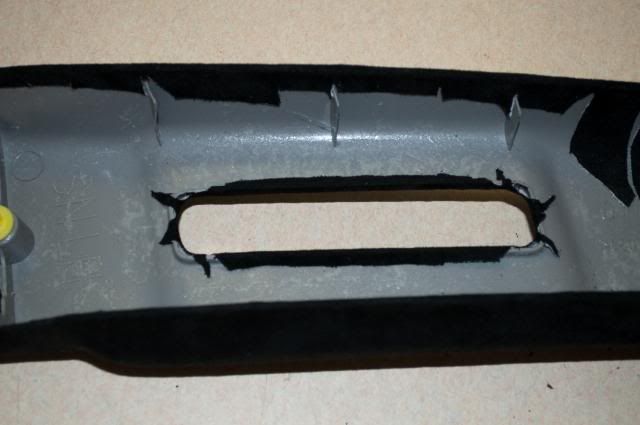
The C pillars around the seat belt are tricky too. Apply the same technique used on the B pillars. Also make sure to cut out the section where the lower trim attaches to the C pillar.

My biggest tip would be to take your time and have lots of patience. No get off your lazy
and get started.