
Last weekend I finally got around to doing the timing belt job on my car. The recommended interval for these cars are 10yr/105K but after seeing the condition of these components, im glad I didn't wait any longer. My car being a 2011 STI with 85K on the clock, I was overdue and really on borrowed time. After taking it all apart, I was surprised to see that the timing belt itself was fine but everything else was not. The oem belt tensioner was leaking and so were the oem idlers. The tooth'd idler and a smooth idler had resistance in them when spinning them by hand after removing them. Everything had a decent amount of debris on it.
![Image]()
![Image]()
![Image]()
We also removed the oil pump since it was right there. Fortunately none of the oil pump philips screws were loose on the rotor backing cover. They were all pretty tight still. I did notice that round seal was getting deformed for some reason. Seems like it was on its way out.
![Image]()
![Image]()
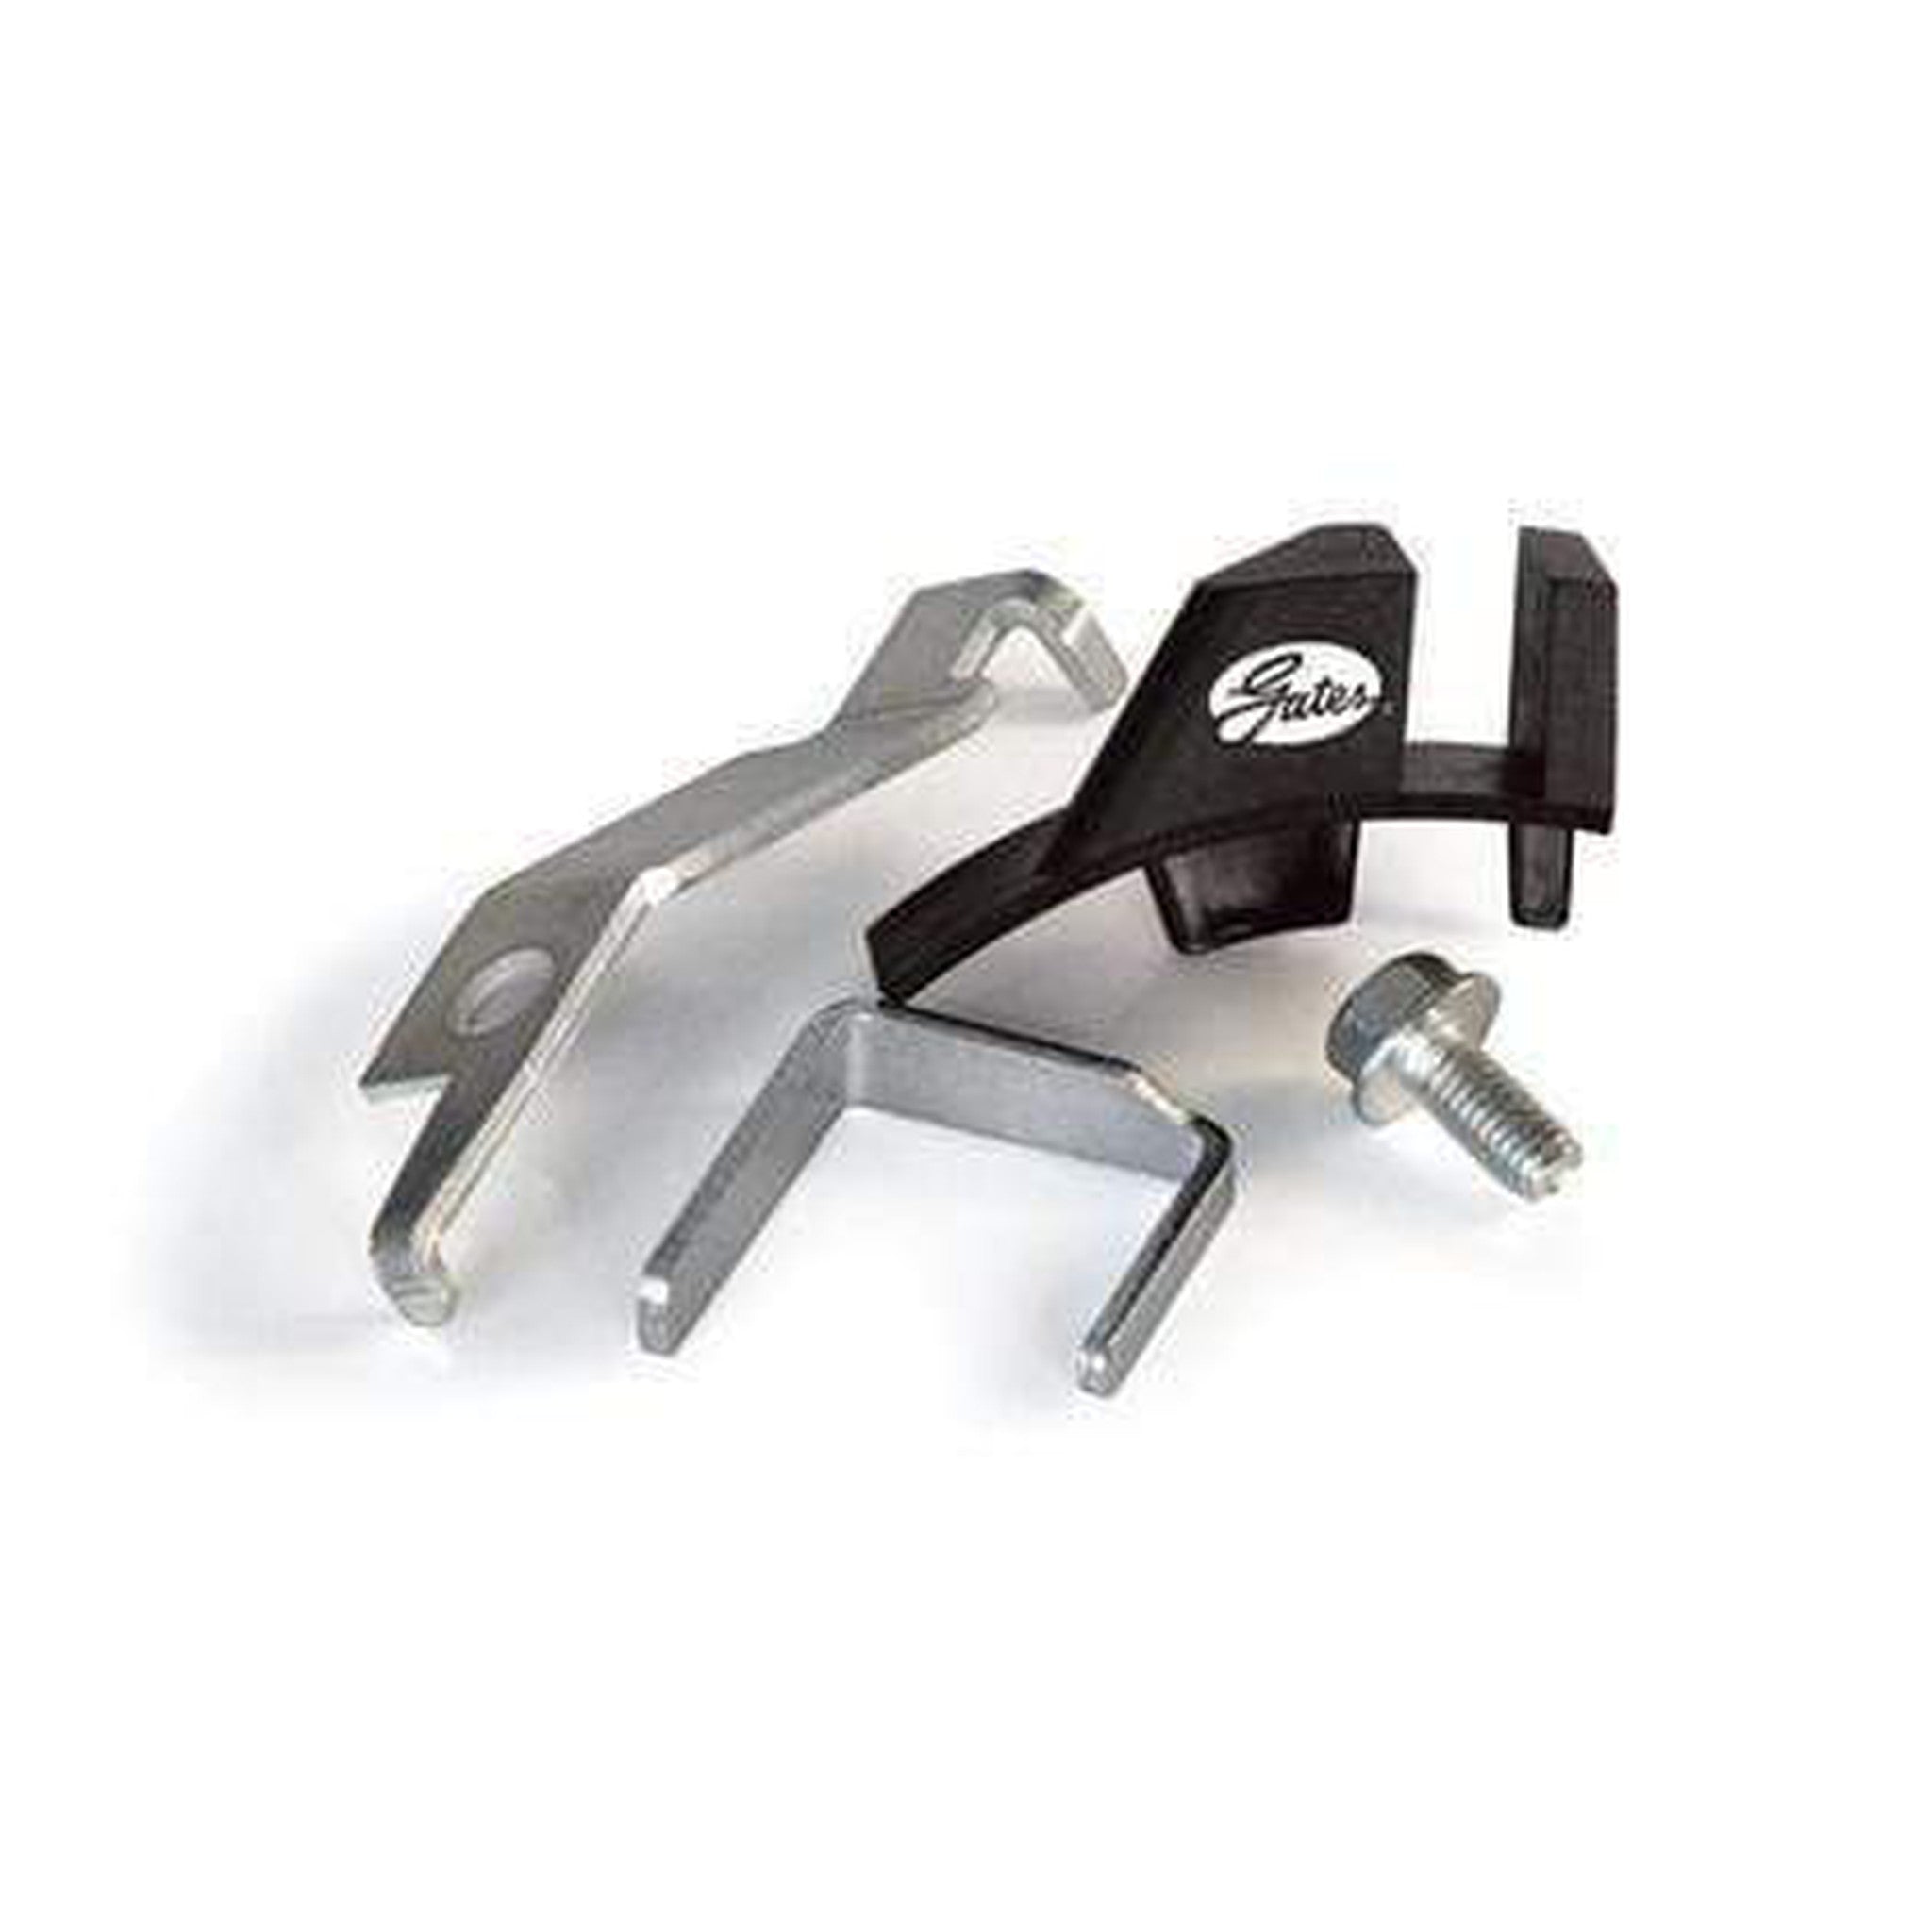
With the help of a friend, we did this job together. He had all the special tools so he showed me alot of the tips and tricks to doing the job. We locked all 4 cam gears, both sides of the engine. I was surprised to find out that the passenger side gears move freely when the drivers side gears required some effort. Either way I preferred we lock it all up just for good measure. I made sure to rotate the drivers side top intake cam clockwise and the bottom exhaust cam counter clockwise.
I was surprised to see how much oil came out of the cover plates for each of the cam gears. "Yo, you might want to get a rag under it to take those plate covers off the gears" "Why bro?"..... As I remove the covers...... OH FOR F**K SAKE! It was like a river of oil coming out with a vengance. Needless to say, it made a huge mess
![Image]()
Now onto the good stuff...
![Image]()
I decided to go with the IAG black timing belt kit and also their stage 1 blue printed oil pump. The oil pump comes fully assembled, loctite'd, torque'd and ready to go. Oil pump even came with all the seals and hardware. I ended up using Permatex RTV Black "The Right Stuff" which is oil resistant with a 90 minute cure time which was perfect for this job.
The timing kit is pretty nice too. I like how it comes with the timing belt guide since the IAG kevlar belt is HUGE. Compared to my OEM timing belt, the IAG belt seems super thick visually. Its also super strong and made it a bit of a challenge trying to line it all up on the teeth of the crank sprocket and tooth idler. It took a couple of attempts to get it right and definitely wasn't having the "just lay it in there" approach. We ended up using the red gapping tool that comes with the gates timing kits in order to adjust clearance on the IAG timing belt guide. Due to the kelvar belt being so thick, we also had to adjust all 4 of those small belt guides on the corners of the inner timing covers. Im not exactly sure what those things are called but good thing we checked them. A feeler gauge, a mirror, and some patience is all I have to say.
![Image]()
Of course I did a brand new Subaru AVCS o-rings, Subaru thermostat, Subaru water pump, Subaru gaskets, Gates accesory and strech belts. While I was there, I also upgraded to a Koyo aluminum radiator and Koyo rad cap. I even did the fancy Grimmspeed hoses, which were actually quite nice to be honest. I didn't have to trim them and came with worm clamps, works for me
![Image]()
One huge tip id recommend for anyone doing this job, make sure you remove the fuel pump fuse PRIOR to starting this job. Let the engine stall and try to turn it over a couple of times to get all the fuel out of the system. This was the very FIRST thing I did before doing anything on this car. You will need to PRIME THE OIL PUMP and establish oil pressure in the system before firing up the engine for the first time. Thus why it's important not to have any fuel in the system that would allow the engine to operate. I cranked the engine over probably like 3-4 times at 10 second intervals before the oil light went away on the dash. After that, I put the fuel pump fuse back in, and fired her up.
The car fired up on the first shot without a hick up. The engine ran fine, and sounded healthy. At that point we had a look of relief and exhaustion between the both of us. Then it was onto burning off all the oil and coolant on the header and making a big ole mess bleeding the cooling system 🤦♂️
After putting it all back together, checking oil, coolant, road test ect ect...... we slapped a sticker on her to make it official!
![Image]()
We also removed the oil pump since it was right there. Fortunately none of the oil pump philips screws were loose on the rotor backing cover. They were all pretty tight still. I did notice that round seal was getting deformed for some reason. Seems like it was on its way out.
With the help of a friend, we did this job together. He had all the special tools so he showed me alot of the tips and tricks to doing the job. We locked all 4 cam gears, both sides of the engine. I was surprised to find out that the passenger side gears move freely when the drivers side gears required some effort. Either way I preferred we lock it all up just for good measure. I made sure to rotate the drivers side top intake cam clockwise and the bottom exhaust cam counter clockwise.
I was surprised to see how much oil came out of the cover plates for each of the cam gears. "Yo, you might want to get a rag under it to take those plate covers off the gears" "Why bro?"..... As I remove the covers...... OH FOR F**K SAKE!
It was like a river of oil coming out with a vengance. Needless to say, it made a huge messNow onto the good stuff...
I decided to go with the IAG black timing belt kit and also their stage 1 blue printed oil pump. The oil pump comes fully assembled, loctite'd, torque'd and ready to go. Oil pump even came with all the seals and hardware. I ended up using Permatex RTV Black "The Right Stuff" which is oil resistant with a 90 minute cure time which was perfect for this job.
The timing kit is pretty nice too. I like how it comes with the timing belt guide since the IAG kevlar belt is HUGE. Compared to my OEM timing belt, the IAG belt seems super thick visually. Its also super strong and made it a bit of a challenge trying to line it all up on the teeth of the crank sprocket and tooth idler. It took a couple of attempts to get it right and definitely wasn't having the "just lay it in there" approach. We ended up using the red gapping tool that comes with the gates timing kits in order to adjust clearance on the IAG timing belt guide. Due to the kelvar belt being so thick, we also had to adjust all 4 of those small belt guides on the corners of the inner timing covers. Im not exactly sure what those things are called but good thing we checked them. A feeler gauge, a mirror, and some patience is all I have to say.
Of course I did a brand new Subaru AVCS o-rings, Subaru thermostat, Subaru water pump, Subaru gaskets, Gates accesory and strech belts. While I was there, I also upgraded to a Koyo aluminum radiator and Koyo rad cap. I even did the fancy Grimmspeed hoses, which were actually quite nice to be honest. I didn't have to trim them and came with worm clamps, works for me
One huge tip id recommend for anyone doing this job, make sure you remove the fuel pump fuse PRIOR to starting this job. Let the engine stall and try to turn it over a couple of times to get all the fuel out of the system. This was the very FIRST thing I did before doing anything on this car. You will need to PRIME THE OIL PUMP and establish oil pressure in the system before firing up the engine for the first time. Thus why it's important not to have any fuel in the system that would allow the engine to operate. I cranked the engine over probably like 3-4 times at 10 second intervals before the oil light went away on the dash. After that, I put the fuel pump fuse back in, and fired her up.
The car fired up on the first shot without a hick up. The engine ran fine, and sounded healthy. At that point we had a look of relief and exhaustion between the both of us. Then it was onto burning off all the oil and coolant on the header and making a big ole mess bleeding the cooling system 🤦♂️
After putting it all back together, checking oil, coolant, road test ect ect...... we slapped a sticker on her to make it official!